
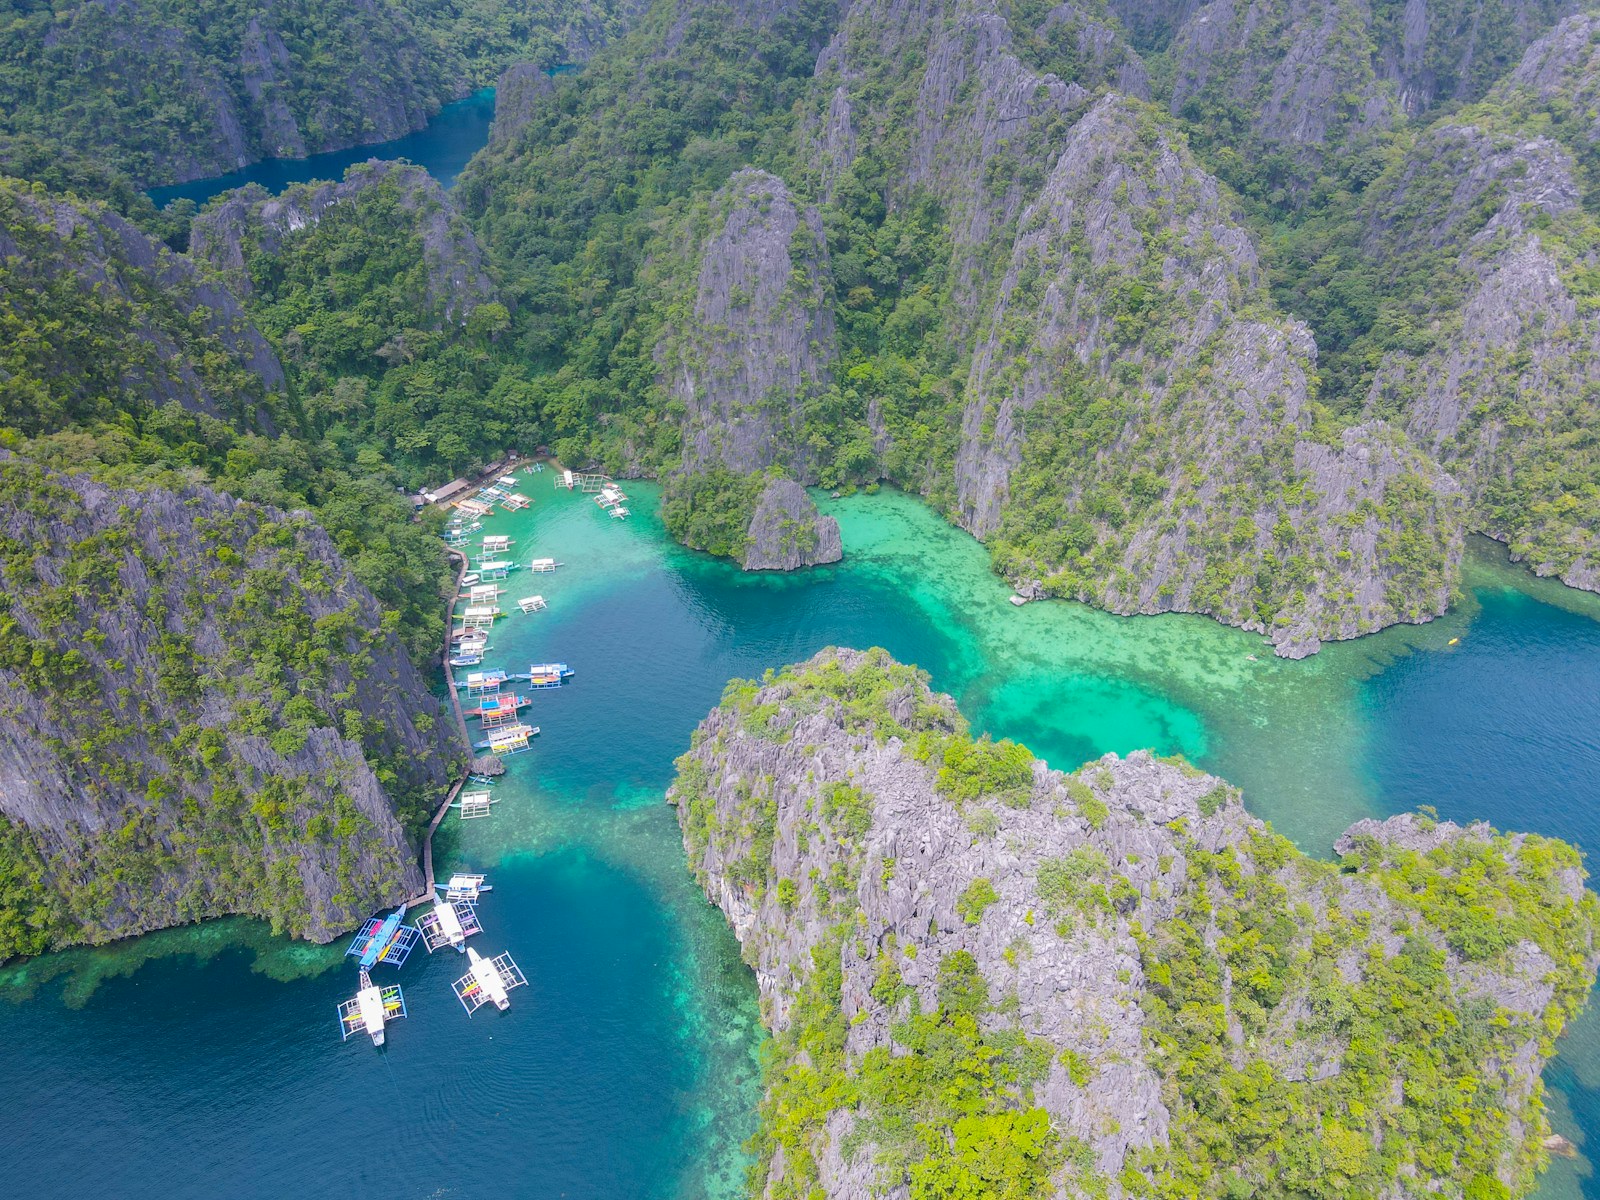
The Philippines is the kind of destination that can make a ten-day holiday feel both wonderfully full and frustratingly short. With thousands of islands, turquoise lagoons, coral reefs, jungle-covered mountains, waterfalls, fishing villages and beach towns, the country offers far more experiences than any single itinerary could reasonably contain. The mistake is trying to solve that problem by visiting everything.
For a first trip, the better approach is to choose a small number of places and experience them properly. This itinerary follows that philosophy. It combines the spectacular limestone islands and lagoons of El Nido, the underwater world and dramatic lakes of Coron, and the contrasting landscapes and experiences of Cebu and Bohol. Rather than pretending all four destinations can be explored deeply in ten days, the route explains where to combine them and where to make a choice depending on your interests.
The result is a journey that moves between beaches, boats, reefs, waterfalls, wildlife, local food and cultural experiences without turning every second day into an airport transfer.
Who This Philippines Itinerary Is For
First-Time Visitors Who Want a Little Bit of Everything
This route is designed for travellers who don't want their first Philippines trip to be only about lying on a beach. You will still get plenty of beach time, but the journey also introduces you to limestone landscapes, coral reefs, waterfalls, wildlife, local communities, historic sites and Filipino food.
That variety is important because the Philippines changes dramatically from island to island. Rather than trying to decide which one represents the "real" Philippines, the itinerary lets you experience several different sides of the country.
Travellers Who Love the Water
If your idea of a perfect holiday involves waking up, getting on a boat and spending the day swimming between islands, this route should be particularly appealing. El Nido is famous for its dramatic lagoons, beaches and limestone formations, while Coron adds a different underwater dimension with reefs, lakes and dive sites. The official Philippine tourism site highlights El Nido's island hopping, kayaking, snorkeling, beaches and marine life as some of its signature experiences.
Food Lovers
Filipino cuisine deserves far more attention than it sometimes receives on a beach-focused trip. Throughout the itinerary, make time for dishes such as adobo, sinigang, pancit, grilled seafood, kinilaw, lechon, lumpia and halo-halo, while remaining open to regional variations and smaller local dishes you encounter along the way.
Choosing Your Main Route
Option A: El Nido + Coron + Cebu/Bohol
This is the route developed in the day-by-day itinerary because it provides the widest variety of experiences, including lagoons, beaches, snorkeling, diving, waterfalls, wildlife and culture. It is also the most ambitious option, so the article deliberately avoids overloading individual days.
Option B: El Nido + Coron Only
If your priority is beaches, snorkeling, diving and island hopping, seriously consider dropping Cebu and Bohol. Those extra days can instead be used for slower island experiences, additional boat trips, diving or simply doing nothing beside the sea.
Option C: Cebu + Bohol
If waterfalls, marine wildlife, countryside, food and cultural experiences interest you more than the dramatic Palawan lagoons, Cebu and Bohol can form an excellent ten-day trip on their own. Bohol combines beaches and marine life with the Chocolate Hills and Philippine tarsier experiences, while Cebu adds historic sites and marine adventures.
Best Time to Visit the Philippines
For a first island-hopping trip, the most generally appealing period is the dry season, roughly December through May, although conditions vary considerably between regions and individual islands. The months around February to April are particularly attractive for travellers who want a combination of sunshine, beach time and outdoor activities.
The shoulder months can also work well, especially if you prefer fewer crowds and potentially better accommodation value, but weather can become less predictable. Remember that the Philippines is a large archipelago — weather conditions are not identical everywhere. A trip focused on Palawan should be checked separately from one focused on Siargao or northern Luzon, particularly if your travel dates fall close to the wetter part of the year.
Where to Stay
El Nido
Stay either close to the main town if you want restaurants, shops and easy access to tour operators, or choose a quieter beachfront property if relaxation matters more. A resort outside the central area can be beautiful, but make sure you understand the transfer time before booking — convenience of being close to town can be valuable during a short trip.
Coron
A comfortable hotel or boutique property near town makes sense if you plan several boat trips. The town gives easy access to restaurants, dive operators and excursion providers. If your priority is a secluded resort experience, you can choose a more remote property, but understand that this may add transfer time to every excursion.
Cebu
Cebu is large enough that your ideal base depends on what you want to do. If your focus is city culture and easy airport access, stay around Cebu City or nearby Mactan. If your priority is waterfalls and coastal adventures farther south, consider basing yourself closer to the southern part of the island instead of commuting long distances from the city.
Bohol
For Bohol, Panglao is the easiest base for a first-time visitor who wants beaches, restaurants, island excursions and convenient accommodation. You can then take a day trip inland for the Chocolate Hills and tarsier experience.
Flights, Ferries and Getting Around
Domestic flights are an important part of travelling around the Philippines. For a ten-day itinerary, don't choose a route simply because two destinations appear geographically close. Check the actual flight schedules and connections before committing to the sequence.
You should also avoid scheduling an important international flight immediately after a complicated island transfer whenever possible. Give yourself a buffer. Ferries can be excellent between destinations where reliable direct services exist, but sea conditions and schedules can change, so treat ferry travel as part of the adventure rather than assuming it will always operate exactly like a city train.
Once you arrive, local transport usually involves a mixture of tricycles, taxis, vans, private transfers, boats and occasionally scooters. The right choice depends heavily on the island.
Entry and Arrival Planning
International visitors should check the current entry requirements for their nationality before booking the trip, because visa and passport rules can vary. One particularly important official resource is the Philippines' eTravel system.
The Philippine government states that the official eTravel website is etravel.gov.ph, and registration is free. The current system allows travellers to register within 72 hours before arrival or departure. Use the official government site rather than third-party websites that charge a fee for registration.
Philippines eTravel – Official Government Portal
Day 1 — Arrive in the Philippines and Make the First Island Connection
Pace: Easy and flexible
Morning / Arrival: Land in Manila or Cebu
After your international flight, allow yourself time to adjust. If your international and domestic flights are on separate tickets, be especially conservative with your connection time because you may need to collect luggage and check in again. If your flight arrives late, stay near the airport and continue the journey the next morning. If you arrive early enough and have a comfortable connection, continue towards your first destination.
Afternoon: Travel Towards El Nido
For the main itinerary, your goal is to reach El Nido rather than spend an entire day sightseeing in Manila. The exact connection will depend on your international arrival and current domestic flight schedules, so check the latest options before booking. Once you arrive in the El Nido area, transfer to your accommodation and give yourself time to settle in.
Evening: Your First Philippine Sunset
Find somewhere near your accommodation for your first Filipino dinner and, if the weather cooperates, watch the sunset. The trip is finally beginning.
Food note: Your first meal is a good opportunity to try something uncomplicated and local, such as grilled seafood, chicken adobo, pancit or a simple rice-based meal.
Do not miss: If you arrive early enough, make time for your first sunset by the water instead of adding another sightseeing stop.
Logistics: Allow enough connection time between international and domestic flights. If travelling through Manila, confirm whether your domestic flight departs from the same airport terminal complex or requires additional transfer time.
Day 2 — El Nido: Your First Day Among the Lagoons
Pace: Moderate and adventure-focused
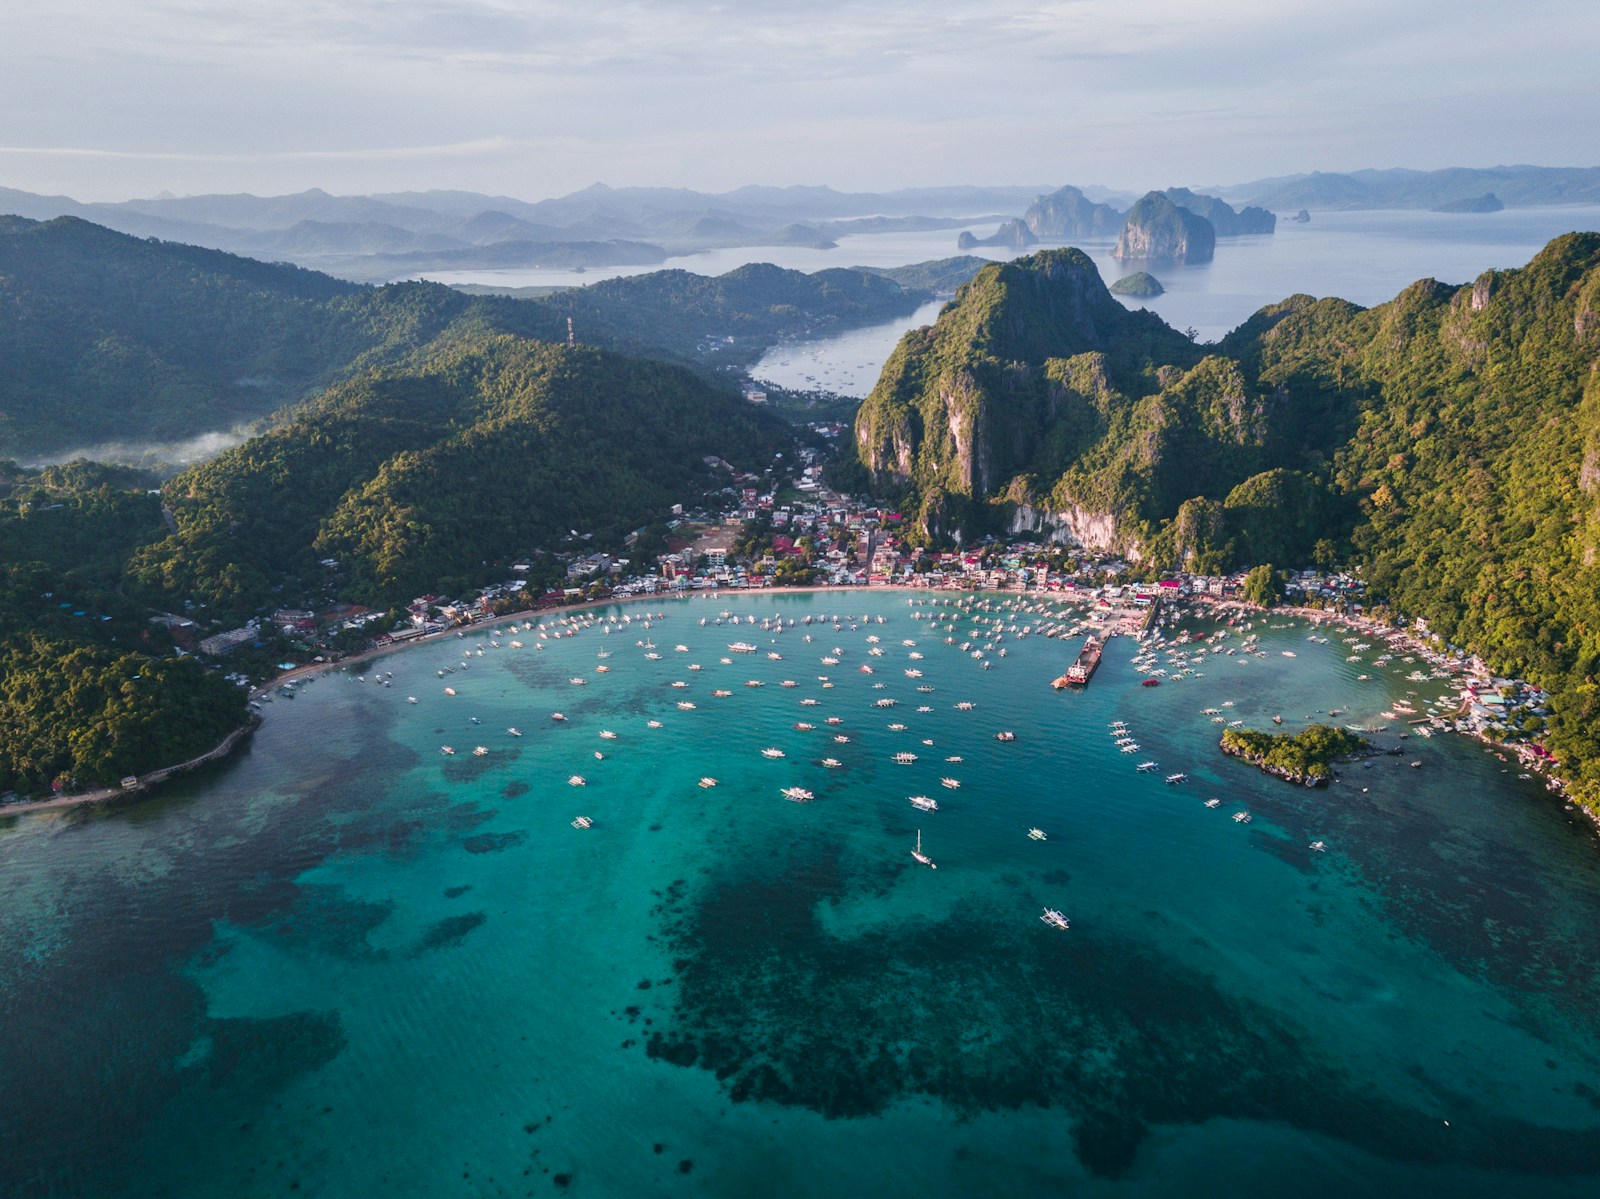
Morning: Set Out on an Island-Hopping Trip
Start early enough to make the most of the day. Your boat will take you away from the mainland and towards the limestone islands that make El Nido so distinctive. Rather than thinking of the boat tour simply as a series of stops, pay attention to the journey between them. The cliffs rising directly from the sea are part of what makes this landscape so different from a conventional beach destination. Depending on the route and conditions, your day may include lagoons, beaches, snorkeling areas and small coves.
Late Morning: Kayaking Through the Lagoons
If your tour includes a lagoon where kayaking is available, take the opportunity. Paddling gives you a different perspective from simply arriving by boat — and for a few minutes, the noise of the boat engines disappears. This is one of the moments when the Philippines feels almost unreal.
Lunch, Snorkeling and Evening
Many island-hopping experiences include a simple lunch, often built around grilled seafood, meat, rice, fruit and other local sides. Eating a straightforward meal beside clear water, with your boat anchored nearby and limestone cliffs rising around you, is part of the charm. After lunch, spend time in the water. Follow local guides and boat-crew instructions carefully, especially around currents and changing sea conditions.
Return to your accommodation, rest from the sun, then walk through town for a casual seafood dinner.
Do not miss: Do not rush through the lagoon and snorkeling stops simply to photograph them; give yourself a few minutes to swim, kayak or sit quietly on the boat.
Logistics: Book island-hopping ahead during busy periods, particularly for a private boat. Ask what the tour includes — meals, snorkeling equipment, environmental or entrance fees, kayaking and transfers. Sea conditions can influence which locations are practical; remain flexible. An early start helps because popular areas get busier later.
Day 3 — El Nido: A Slower Day of Beaches, Kayaking and Coastal Exploration
Pace: Easy to moderate
Have breakfast without an unnecessarily early alarm. If your accommodation has beach access, begin there; otherwise head to a convenient beach. If you still want time on the water, arrange a shorter or more private excursion rather than another full-day group tour — or kayak for a quieter coastline experience. If yesterday left you exhausted, stay closer to shore. The itinerary works either way.
Return for lunch and try Filipino dishes such as sinigang or kinilaw. The afternoon is intentionally flexible: quieter beach, town, kayak, massage or simply your accommodation. Check conditions before any hike. Prepare cash, water, sunscreen and snacks for tomorrow's transfer. Make sunset the only fixed appointment of the afternoon, then have a final relaxed El Nido dinner and pack for departure.
Do not miss: Give yourself at least one completely unstructured stretch of several hours today.
Logistics: Keep plans flexible because you travel north tomorrow. Confirm meeting point, duration, inclusions and return time for any boat trip. Only rent a scooter if you are genuinely comfortable and properly licensed; a tricycle, taxi or arranged transfer is often better.
Day 4 — El Nido to Coron: A Scenic Transfer Into a Different Island World
Pace: Easy, with travel as the main activity
Have breakfast and, if departure is later, one final walk through town or a short beach visit. Pre-arrange transport to the departure point and arrive with a buffer. The crossing towards Coron can take several hours depending on service and conditions — bring water, sun protection and something to occupy yourself. Prepare for seasickness if needed.
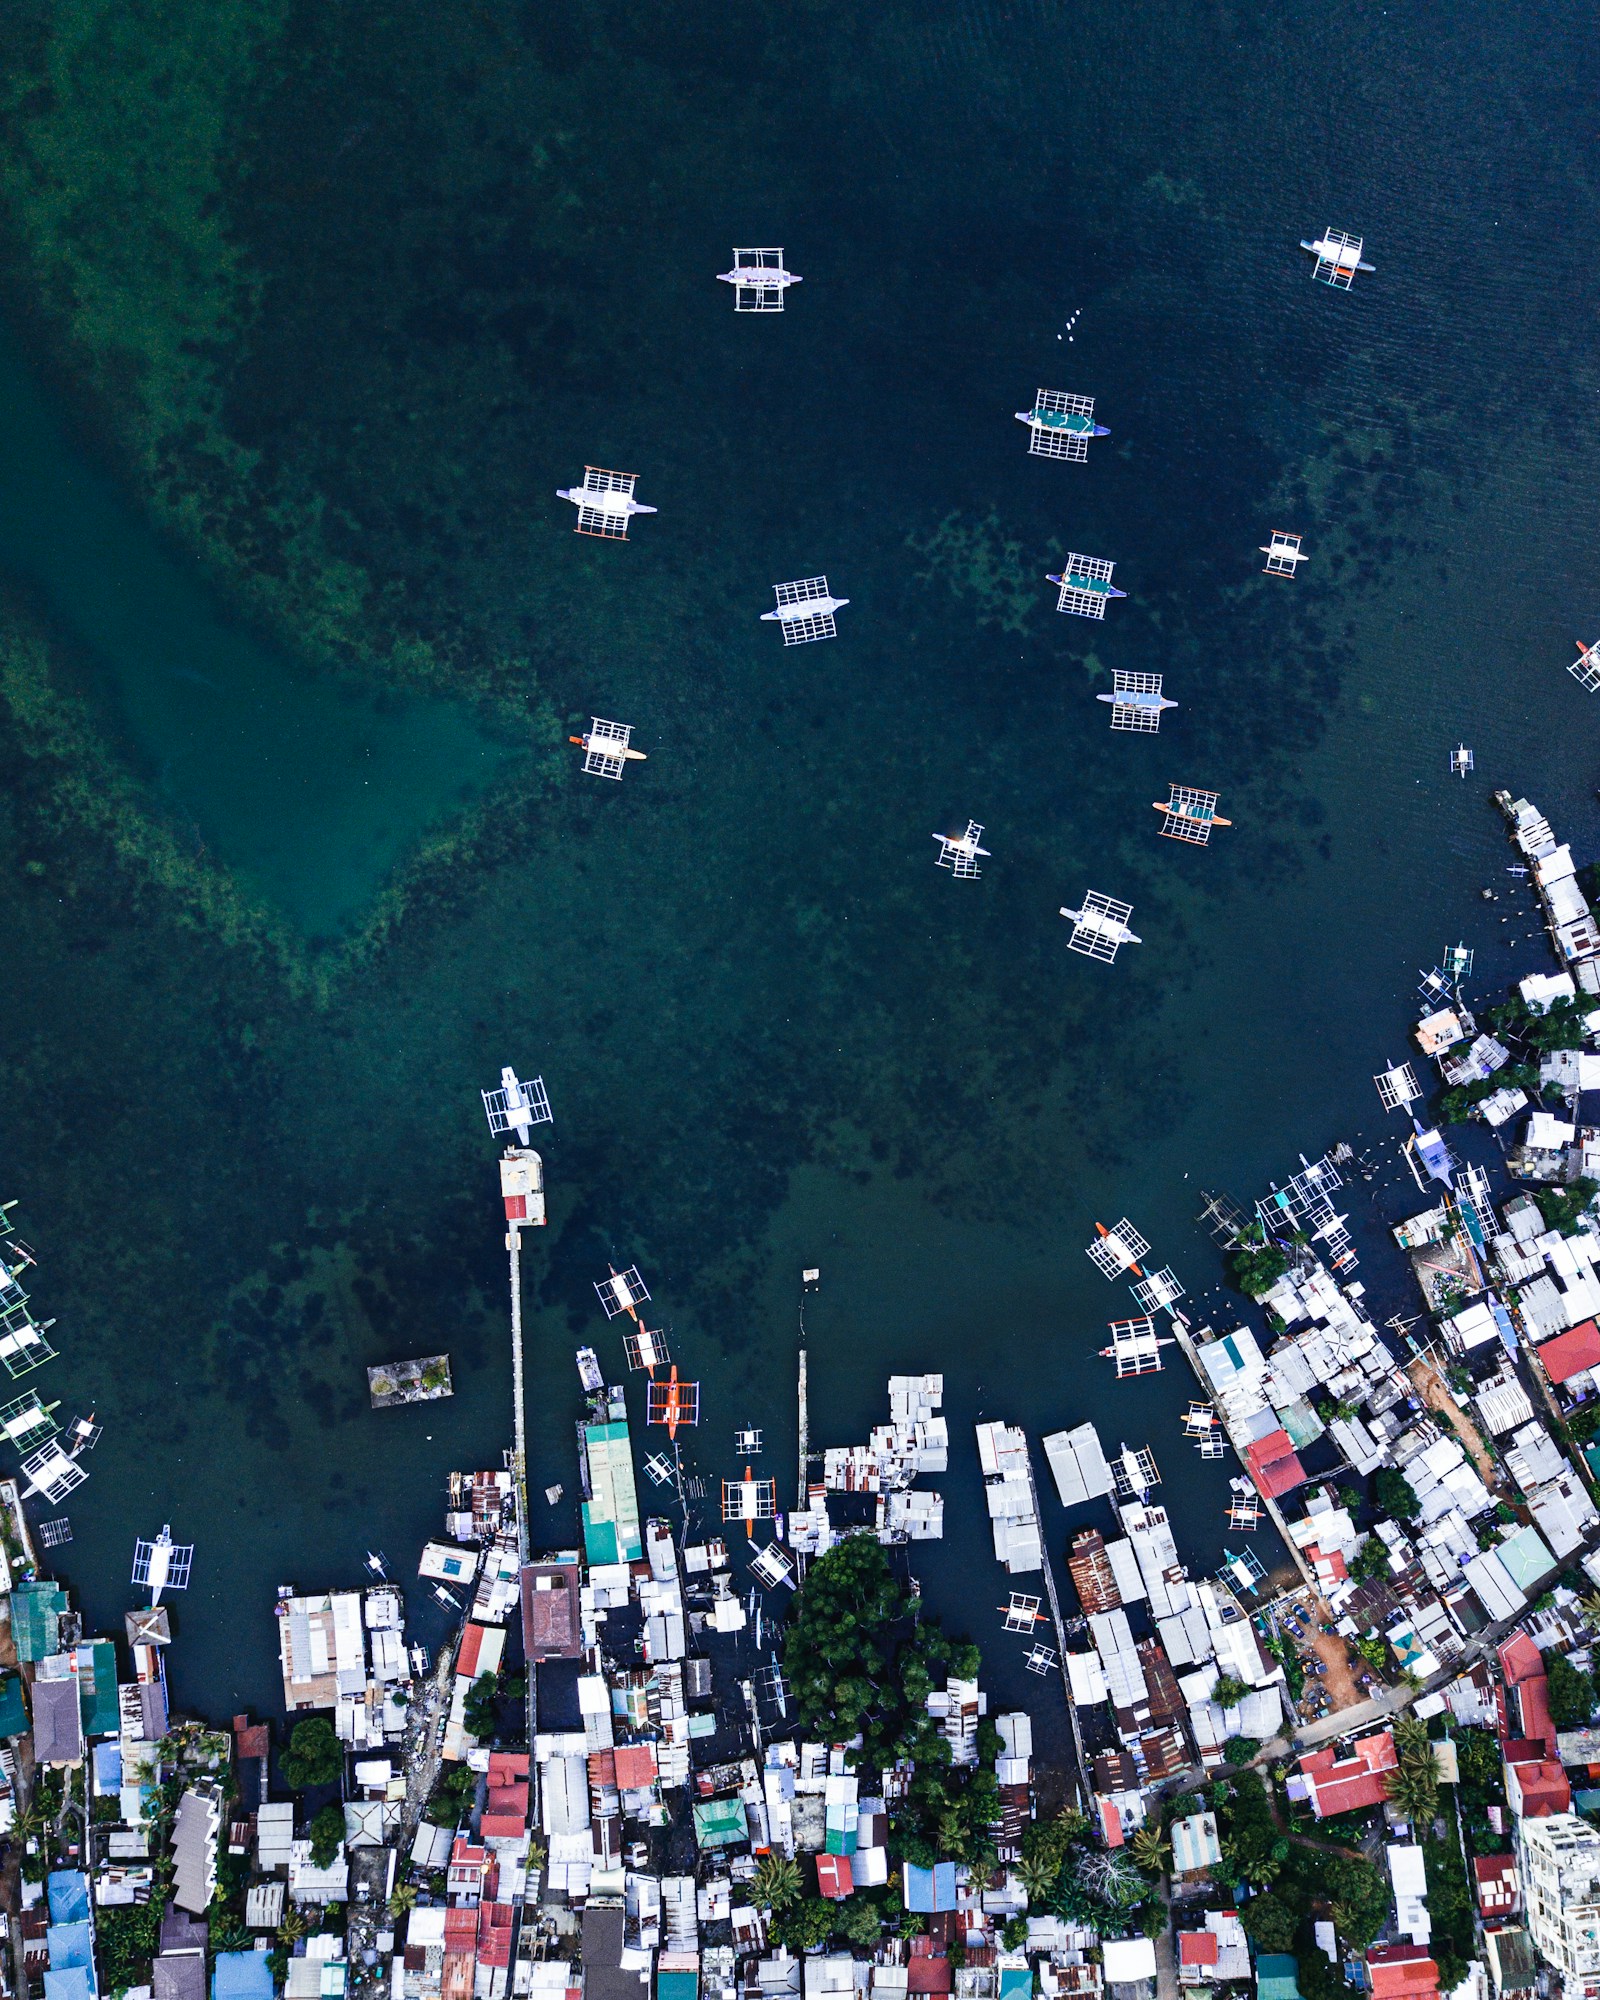
Once you reach Coron, transfer to your accommodation. The atmosphere differs from El Nido — less a single postcard lagoon landscape and more a combination of limestone formations, islands, lakes, coral reefs and underwater history. Keep the first evening simple: walk through Coron Town, browse shops and find casual dinner. If interested in diving or snorkeling, speak with an operator about the following day.
Do not miss: Watch the coastline during the El Nido–Coron journey rather than treating the ferry as mere transportation.
Logistics: Check current ferry and flight schedules shortly before travel. Reserve transfers in busy periods. Avoid building an important same-day flight immediately after the ferry. Keep medication, documents and valuables in hand luggage. For a short first visit, staying reasonably close to Coron Town makes excursions easier.
Why Coron Is Worth Adding After El Nido
At first glance, adding Coron after El Nido can seem repetitive. Both have beautiful islands, limestone formations, snorkeling and boat trips. But the experiences differ enough to justify the combination when you have time. El Nido is particularly famous for dramatic lagoons, beaches and Bacuit Bay scenery. Coron adds a stronger underwater and freshwater component — coral reefs, clear lakes and historically significant shipwrecks that have made the area especially popular with divers.
If your priority is beaches and iconic lagoons, El Nido may deserve more time. If diving, wrecks and underwater exploration matter most, Coron becomes harder to leave out. Want both? The combination creates a more varied Palawan experience.
Day 5 — Coron: Lakes, Limestone Cliffs, Snorkeling and Shipwrecks
Pace: Moderate and adventure-focused
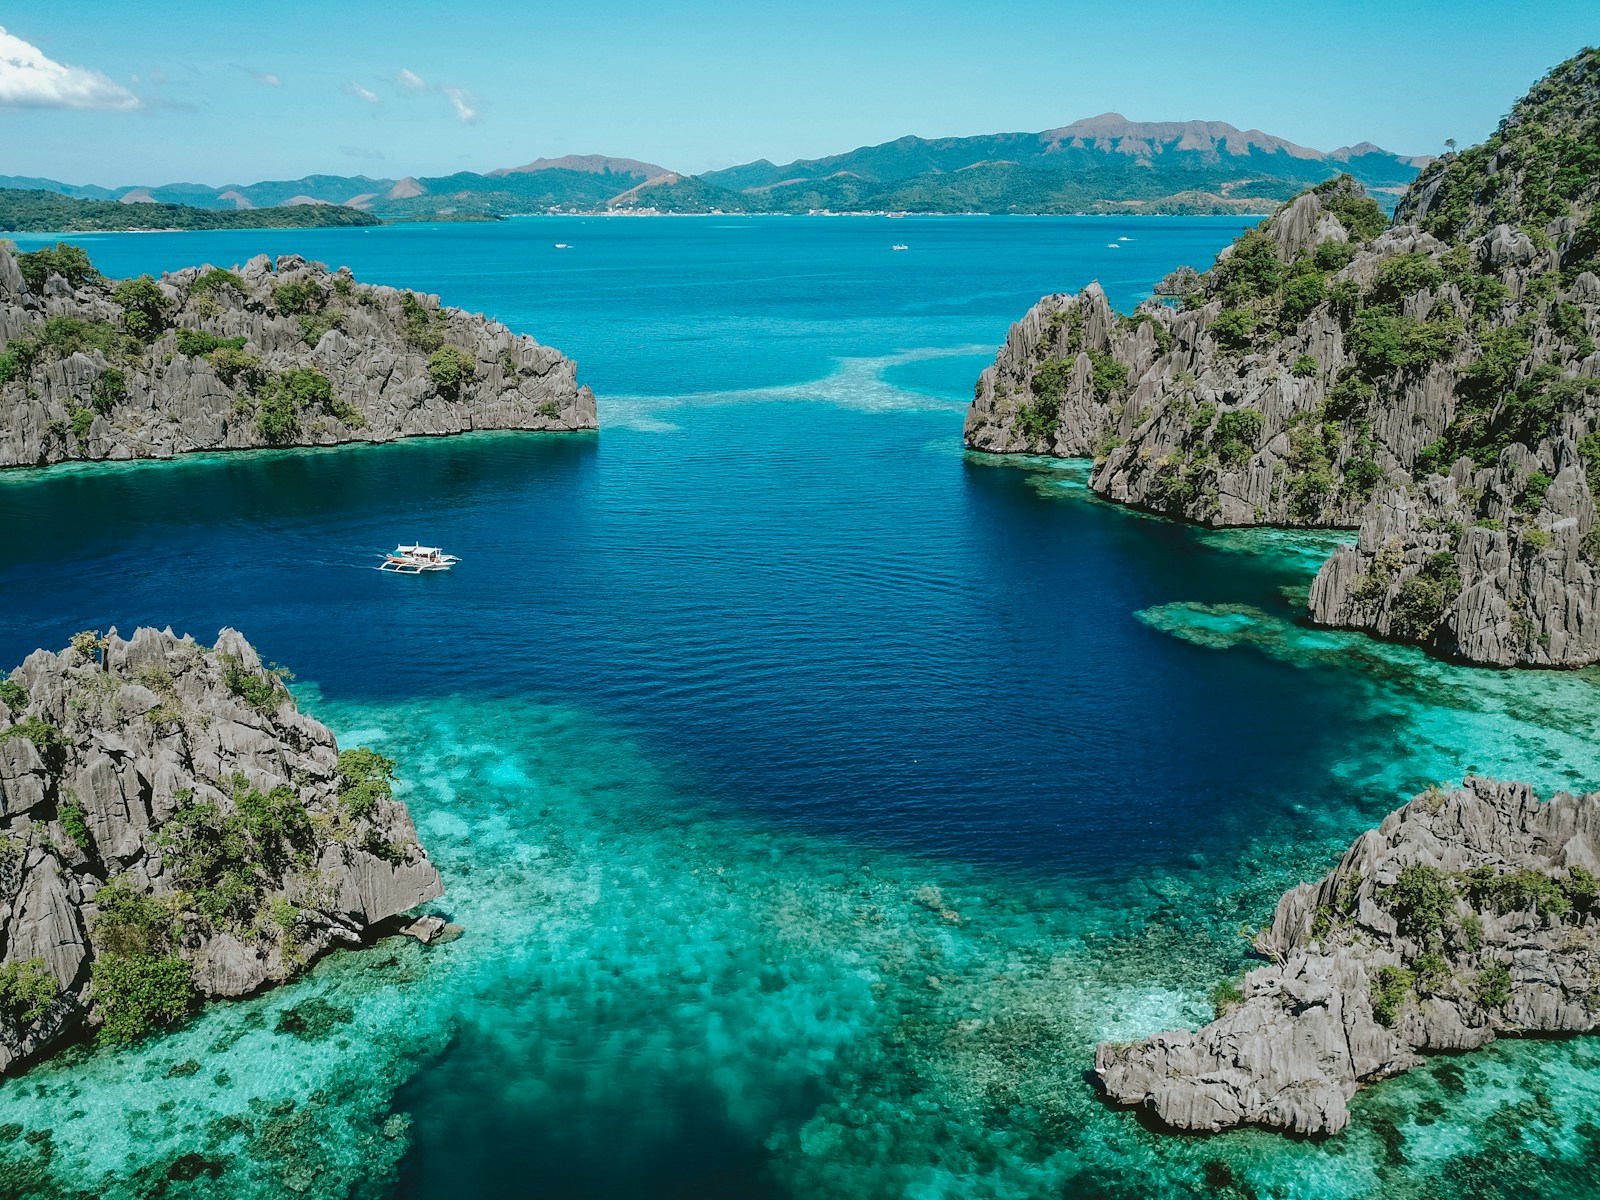
Leave early for your boat excursion. A private boat offers the most flexibility; shared tours are a better-value option if you don't mind a set route. As the boat leaves Coron, limestone cliffs rise sharply, small islands appear, and the scenery feels more remote.
If conditions allow, make Kayangan Lake one of the day's major experiences — a short climb to the viewpoint, then descent to remarkably clear water enclosed by limestone. Lunch is typically simple grilled fish or meat with rice and fruit; the setting makes the meal special.
Afternoon, tailor to your interests: certified divers can explore World War II-era Japanese shipwrecks with a reputable operator; non-divers still have excellent snorkeling and reef options. Return before sunset, then enjoy a Filipino dinner by the coast — grilled seafood, kinilaw, adobo or grilled fish with rice.
Do not miss: Divers should make time for wrecks with a reputable operator; non-divers should not feel they are missing Coron — lakes, reefs and limestone scenery provide plenty above the surface.
Logistics: Book ahead in peak periods and verify inclusions. Divers should bring certification and discuss experience level. Carry water and reef-conscious sun protection. Follow local instructions in protected areas and avoid touching coral or marine life.
Day 6 — Coron to Cebu: Changing Islands, Changing Landscapes
Pace: Easy to moderate, with travel as the main event
Don't schedule a major excursion before your flight. Have breakfast, take a final walk and enjoy the last hours around your accommodation. Allow plenty of time for the transfer to Francisco B. Reyes Airport. Check baggage allowance before arrival.
Once you arrive in Cebu, the character of the journey changes — from isolated Palawan island scenery into the more developed Visayas. Your base depends on tomorrow: focus on southern waterfalls and marine experiences, continue south; for culture, food and easier logistics, stay closer to Cebu City or Mactan. Do not assume Cebu City makes every experience convenient — the island is large and traffic matters.
Tonight is a good opportunity to shift toward Cebu's broader food culture. Cebu is particularly famous for lechon. Find a reputable local restaurant and allow the evening to become a gentle reset after several days of island hopping.
Do not miss: Appreciate how different Cebu feels from Palawan — the regional contrast is part of the value of travelling beyond a single island.
Cebu or Bohol? The Choice Matters Here
You have four days remaining. Trying to experience all of Cebu and all of Bohol would create another rushed sequence of transfers.
Choose more Cebu for waterfalls, marine encounters, diving, snorkeling and a little more urban or historical culture — but be selective about distances.
Choose Bohol for wildlife, countryside, Chocolate Hills, tarsiers, beaches and a more relaxed final few days. Panglao provides a convenient beach base.
Choose both only if connections line up well and you accept brief introductions. For this itinerary, giving Bohol more depth usually beats two half-experiences — so the next section uses Bohol as the main base while keeping Cebu's highlights as an optional variation.
Day 7 — Cebu to Bohol: Into a Slower Island Rhythm
Pace: Easy and flexible
Travel from Cebu toward Bohol by ferry or another available connection — check latest departure times rather than relying on an outdated timetable. For most first-timers, Panglao is a convenient base for beach access, restaurants, accommodation and island excursions.
Once you arrive, settle in and do very little. Later, walk the area around your accommodation and speak with staff about tomorrow's inland tour — pickup time, route and inclusions for tarsiers and Chocolate Hills. Make tonight a simple beach dinner.
Do not miss: Spend at least one hour by the beach without planning another activity around it.
Day 8 — Bohol: Chocolate Hills, Tarsiers and the Green Interior
Pace: Moderate, with an early start
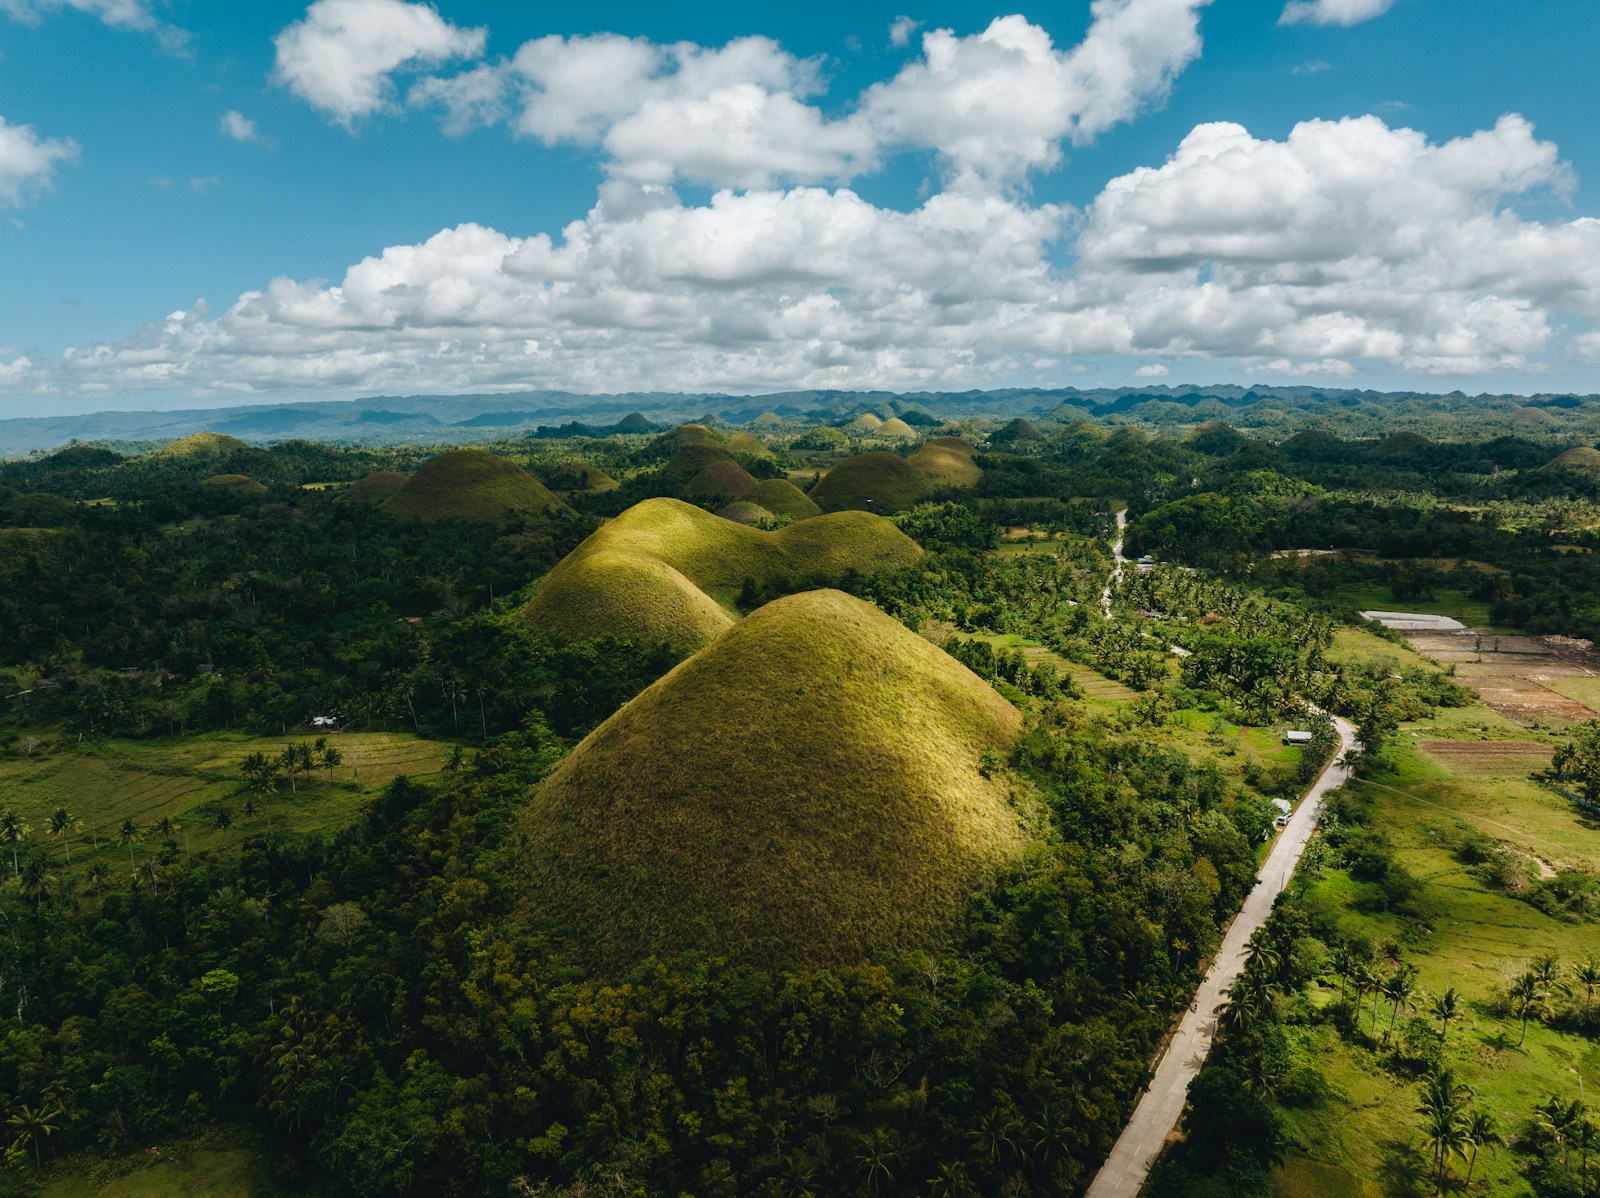
Start relatively early for the Chocolate Hills — hundreds of unusual cone-shaped hills whose colour changes with the season, from lush green in wetter months to the brown that inspired their name in drier periods. Spend time at a viewpoint looking across a landscape that extends farther than the immediate frame suggests.
Continue to a local restaurant for lunch, then visit a reputable conservation-oriented Philippine tarsier facility. Tarsiers are small, nocturnal primates sensitive to disturbance — follow rules about noise, touching, photography and proximity. Return toward Panglao for an easy dinner; tomorrow is intentionally lighter.
Do not miss: Choose a responsible tarsier sanctuary and follow every visitor rule.
Logistics: A private driver is one of the easiest ways to combine Chocolate Hills, tarsiers and optional cultural stops. Organised day tours work too — check how long you spend at each stop and avoid itineraries that cram too many attractions into one day.
Day 9 — Bohol: Beach, Island Hopping and One Last Philippine Adventure
Pace: Easy to moderate
After yesterday's inland journey, return to the water — but not another marathon island-hopping day. Choose a shorter marine excursion or morning exploring waters around Panglao. If interested in marine wildlife, ask operators about responsible options and guidelines rather than guaranteed encounters.
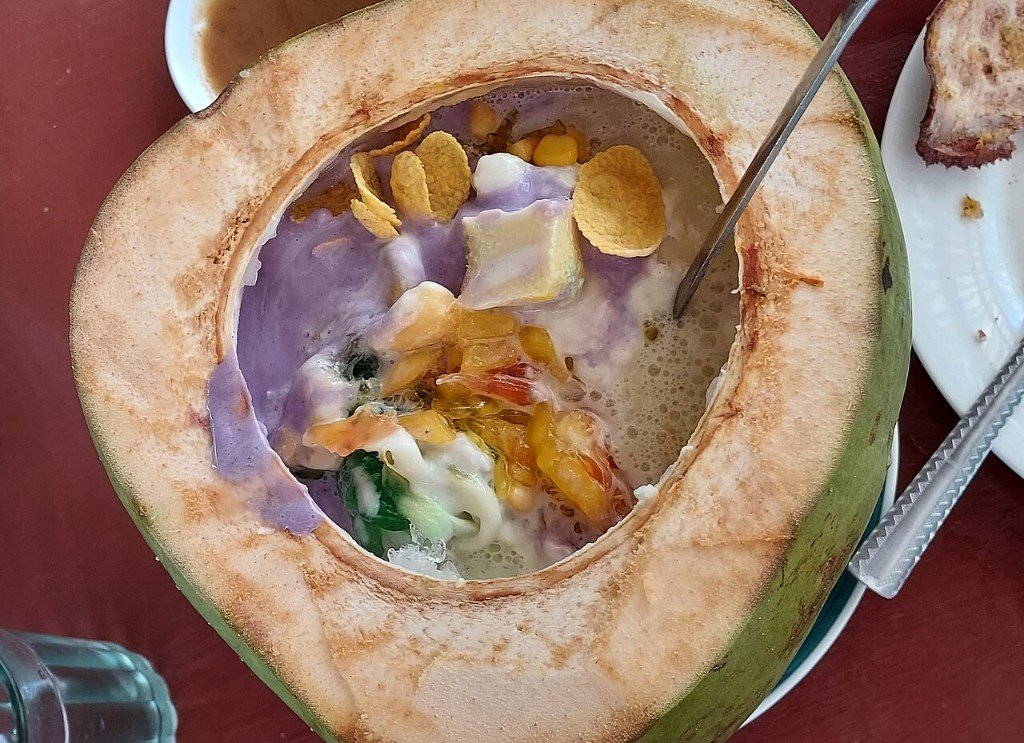
Return for a relaxed seafood lunch, then choose between beach/pool time or one small cultural experience. Make tonight's sunset your last major experience. For the final dinner, reorder a Filipino dish you loved earlier, or try something new — and finish with fresh mango or halo-halo.
Do not miss: Spend your final sunset beside the water without your phone for at least a few minutes.
Logistics: Keep tomorrow's departure in mind. Confirm airport transfer before bed. Keep passport and flight documents together.
Day 10 — Bohol or Cebu: A Slow Final Morning and Departure
Pace: Very easy
Wake without an alarm if your flight allows. Have breakfast, check out carefully for chargers and small belongings, then head toward your departure airport. If flying internationally from Manila, leave substantial time for the domestic connection. If departing from Cebu, make sure your Bohol-to-Cebu transfer gives a comfortable buffer — a reliable private transfer can be worth it here.
Do not miss: Leave enough time for airport transfer and check-in — no souvenir is worth turning the last day into a stressful sprint.
If You Want More Cebu and Less Bohol
The route above uses Bohol as the main final base because it balances wildlife, landscapes, beaches and relaxed island time. But Cebu can be the better choice for travellers focused on waterfalls, marine life and adventure — replace Days 7–9 with a Cebu-focused itinerary south toward waterfall and coastal areas, then return toward the airport for departure.
Alternative Philippines Destinations Worth Considering
Boracay — Easy Beach Luxury and Nightlife
Choose Boracay if your ideal holiday involves a beautiful beach, comfortable resorts, water activities, restaurants and a lively evening atmosphere. It is more developed and polished than many destinations in this itinerary. If beaches are your absolute priority, Boracay can replace one of the Palawan stops.
Siargao — Surfing, Cafés and Laid-Back Island Life
Siargao combines surfing, island hopping, cafés, restaurants, palm-lined roads and a relaxed social atmosphere. Particularly attractive to younger travellers, solo travellers and anyone who wants an island with personality. Consider replacing Coron with Siargao if surfing and island culture are the priority.
Siquijor — Quiet Beaches and Independent Exploration
Waterfalls, beaches, coastal roads, local traditions and small-scale accommodation appeal to travellers who enjoy exploring at their own pace — especially those comfortable with scooters and less interested in major resorts.
Batanes — Dramatic Landscapes and Culture
Batanes feels almost like a different country within the Philippines — dramatic hills, stone houses, coastal cliffs and distinctive Ivatan culture. It is not the easiest add-on to a first ten-day island-hopping itinerary; choose it because you specifically want Batanes.
The Philippines Travel Budget
A ten-day Philippines trip can be surprisingly affordable compared with many other tropical destinations, but costs change dramatically depending on resorts, private boats, diving and domestic flights. A comfortable trip can sit between budget backpacking and luxury resort travel if you mix accommodation styles.
Divide the budget into five categories: accommodation (guesthouses vs boutique/beachfront), domestic transport (flights plus baggage), island hopping (shared tours vs private boats), food (local restaurants vs resort dining), and activities (diving, private boats and guided excursions as discretionary spend).
Practical Philippines Travel Tips
- Book important international and domestic flight connections first, then hotels and activities.
- Leave buffer time between islands — weather, ferries, airports and traffic can all shift plans.
- Carry some cash for smaller restaurants, local transport, markets and some excursions.
- Use reef-conscious sun protection; avoid touching coral, feeding marine animals or collecting shells.
- Don't assume every beach is swimmable at all times — follow local warnings and guides.
- Be respectful around wildlife, especially tarsiers and marine animals; avoid tours that encourage unnatural interactions for photographs.
The Philippines Works Because Every Island Changes the Story
El Nido gives you the classic image of the Philippines: towering limestone cliffs rising from turquoise water. You could spend months exploring the country and still leave with islands you haven't seen.
That's why ten days shouldn't be about trying to finish the Philippines. It should be about choosing a few places that make you excited to wake up each morning — and leaving the itinerary enough space to breathe. That flexibility is part of what makes island travel so rewarding.
When you're ready to make the route your own, use this itinerary as a framework and customise it with Honge around your preferred islands, budget, travel style and pace.
Ready to make it yours?
Customize this itinerary with AI
Tailor islands, boat days, diving and transfer buffers to your Philippines trip.
Related itineraries
- 8 Days Solo in Samoa: Upolu, Savai‘i & the South Pacific
- 7 Days in Malaysia: Kuala Lumpur, Penang & Langkawi
- 9 Days in Costa Rica: Volcanoes, Rainforests & Pacific Beaches
- 7-Day San Diego Itinerary: Beaches, Neighborhoods & Southern California
- 10-Day Laos & Cambodia Itinerary: Luang Prabang, Vang Vieng & Angkor
- 10-Day Berlin & Munich Itinerary: Wall, Museums & Oktoberfest
- 7-Day Finnish Lapland Itinerary: Sauna, Snow & Northern Lights
- 10-Day Sri Lanka Itinerary: Beaches, Tea Country & Wildlife Safari
- 8-Day London and Southern England Itinerary: Museums, Cricket, Bath & Jurassic Coast
- 4-Day Santa Fe & Taos Itinerary: Art, Culture & Rio Grande Gorge
- 7-Day Harry Potter Britain Itinerary: London, Oxford & Scotland
- 10-Day Taiwan Solo Itinerary: Taipei Food, Nature & Culture
- 9-Day Greek Islands Itinerary: Santorini, Naxos & Paros
- 7-Day Tuscany Luxury Itinerary: Florence, Chianti & Val d'Orcia
Written by
This blog was contributed by B. Sai Nikita, a travel enthusiast and writer. B. Sai Nikita can be reached at bsainikita10@gmail.com.
About Honge
Honge is an AI travel planning platform focused on practical, experience-led itineraries with realistic pacing and logistics. All blog content is edited and published by Honge. Our Philippines research draws on updated practical logistics as of August 2026. © Honge. All rights reserved.
Image credits: Photos are sourced from Unsplash and Wikimedia Commons. Copyright remains with their respective photographers and rights holders. Unsplash images are used according to the Unsplash License. Wikimedia Commons images are used according to their applicable CC BY-SA 4.0 license terms.
Travel disclaimer
This itinerary is intended as general travel inspiration and planning guidance only — not as personalised travel advice. Conditions change. Before you travel, check the current entry requirements, visa rules, and any travel advisories issued by your government for the Philippines. Complete eTravel registration on the official government portal, review weather and sea conditions for your specific islands and dates, confirm ferry and domestic flight schedules, boat-tour and dive-operator inclusions, wildlife-sanctuary rules, and hotel transfer arrangements directly with operators and official sources, and take out comprehensive travel insurance that covers medical, cancellation, and disruption. Honge is not responsible for any changes to conditions, services, or experiences described in this article after the date of publication.